Showing posts with label yarn. Show all posts

Wednesday, November 14, 2018

Stained Glass Cowl

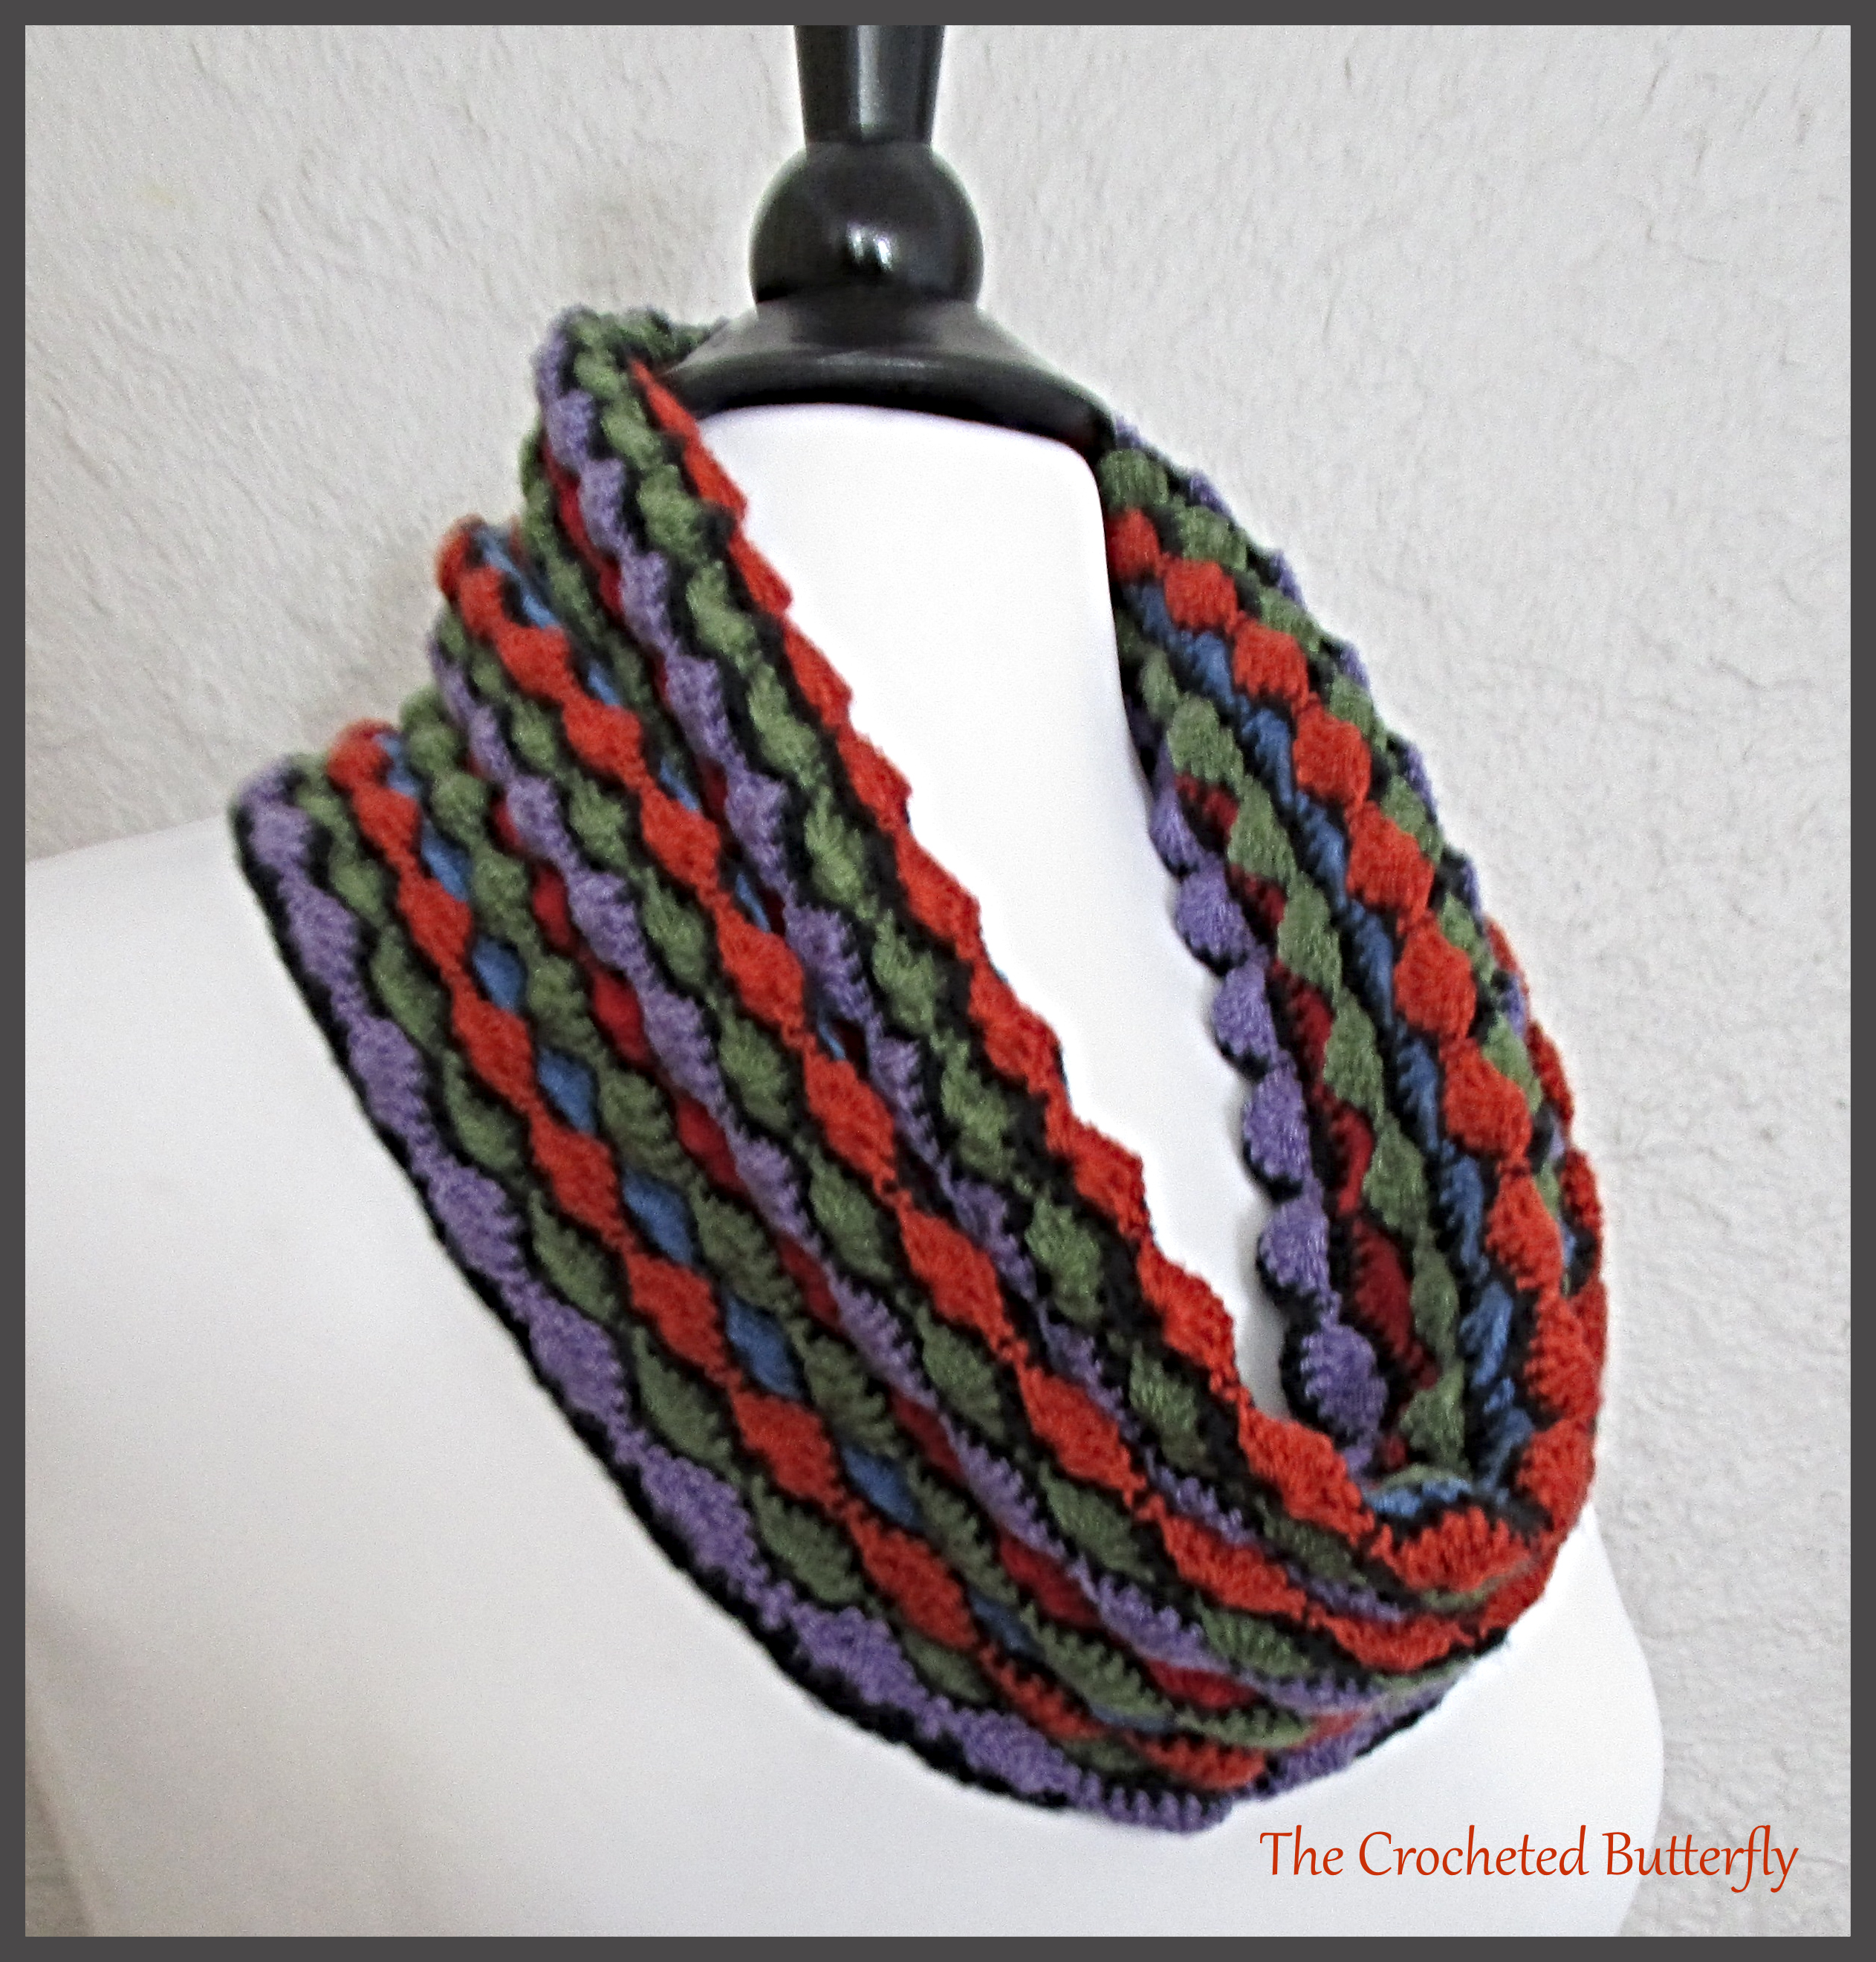
In my last post I mentioned that I was working on a new cowl - and Ta Da! - the Stained Glass Cowl is now done. It took a while (25 hours + dealing with ends), but I'm really happy with how it turned out.
IMG_1069A - Copy

The cowl was made out of Loops and Threads Woolike in black, red, pumpkin spice, lavender, sage, and denim blue, with an E hook. I can't tell you how much I love this color combination. It's just so yummy! I also like how the stitch makes a bobble-ish type texture; I've always been a big fan of texture stitches. The black sc stitch rows were always worked with the front side facing you. The 7-dc shell stitch rows were alternated between the front and back sides.

A

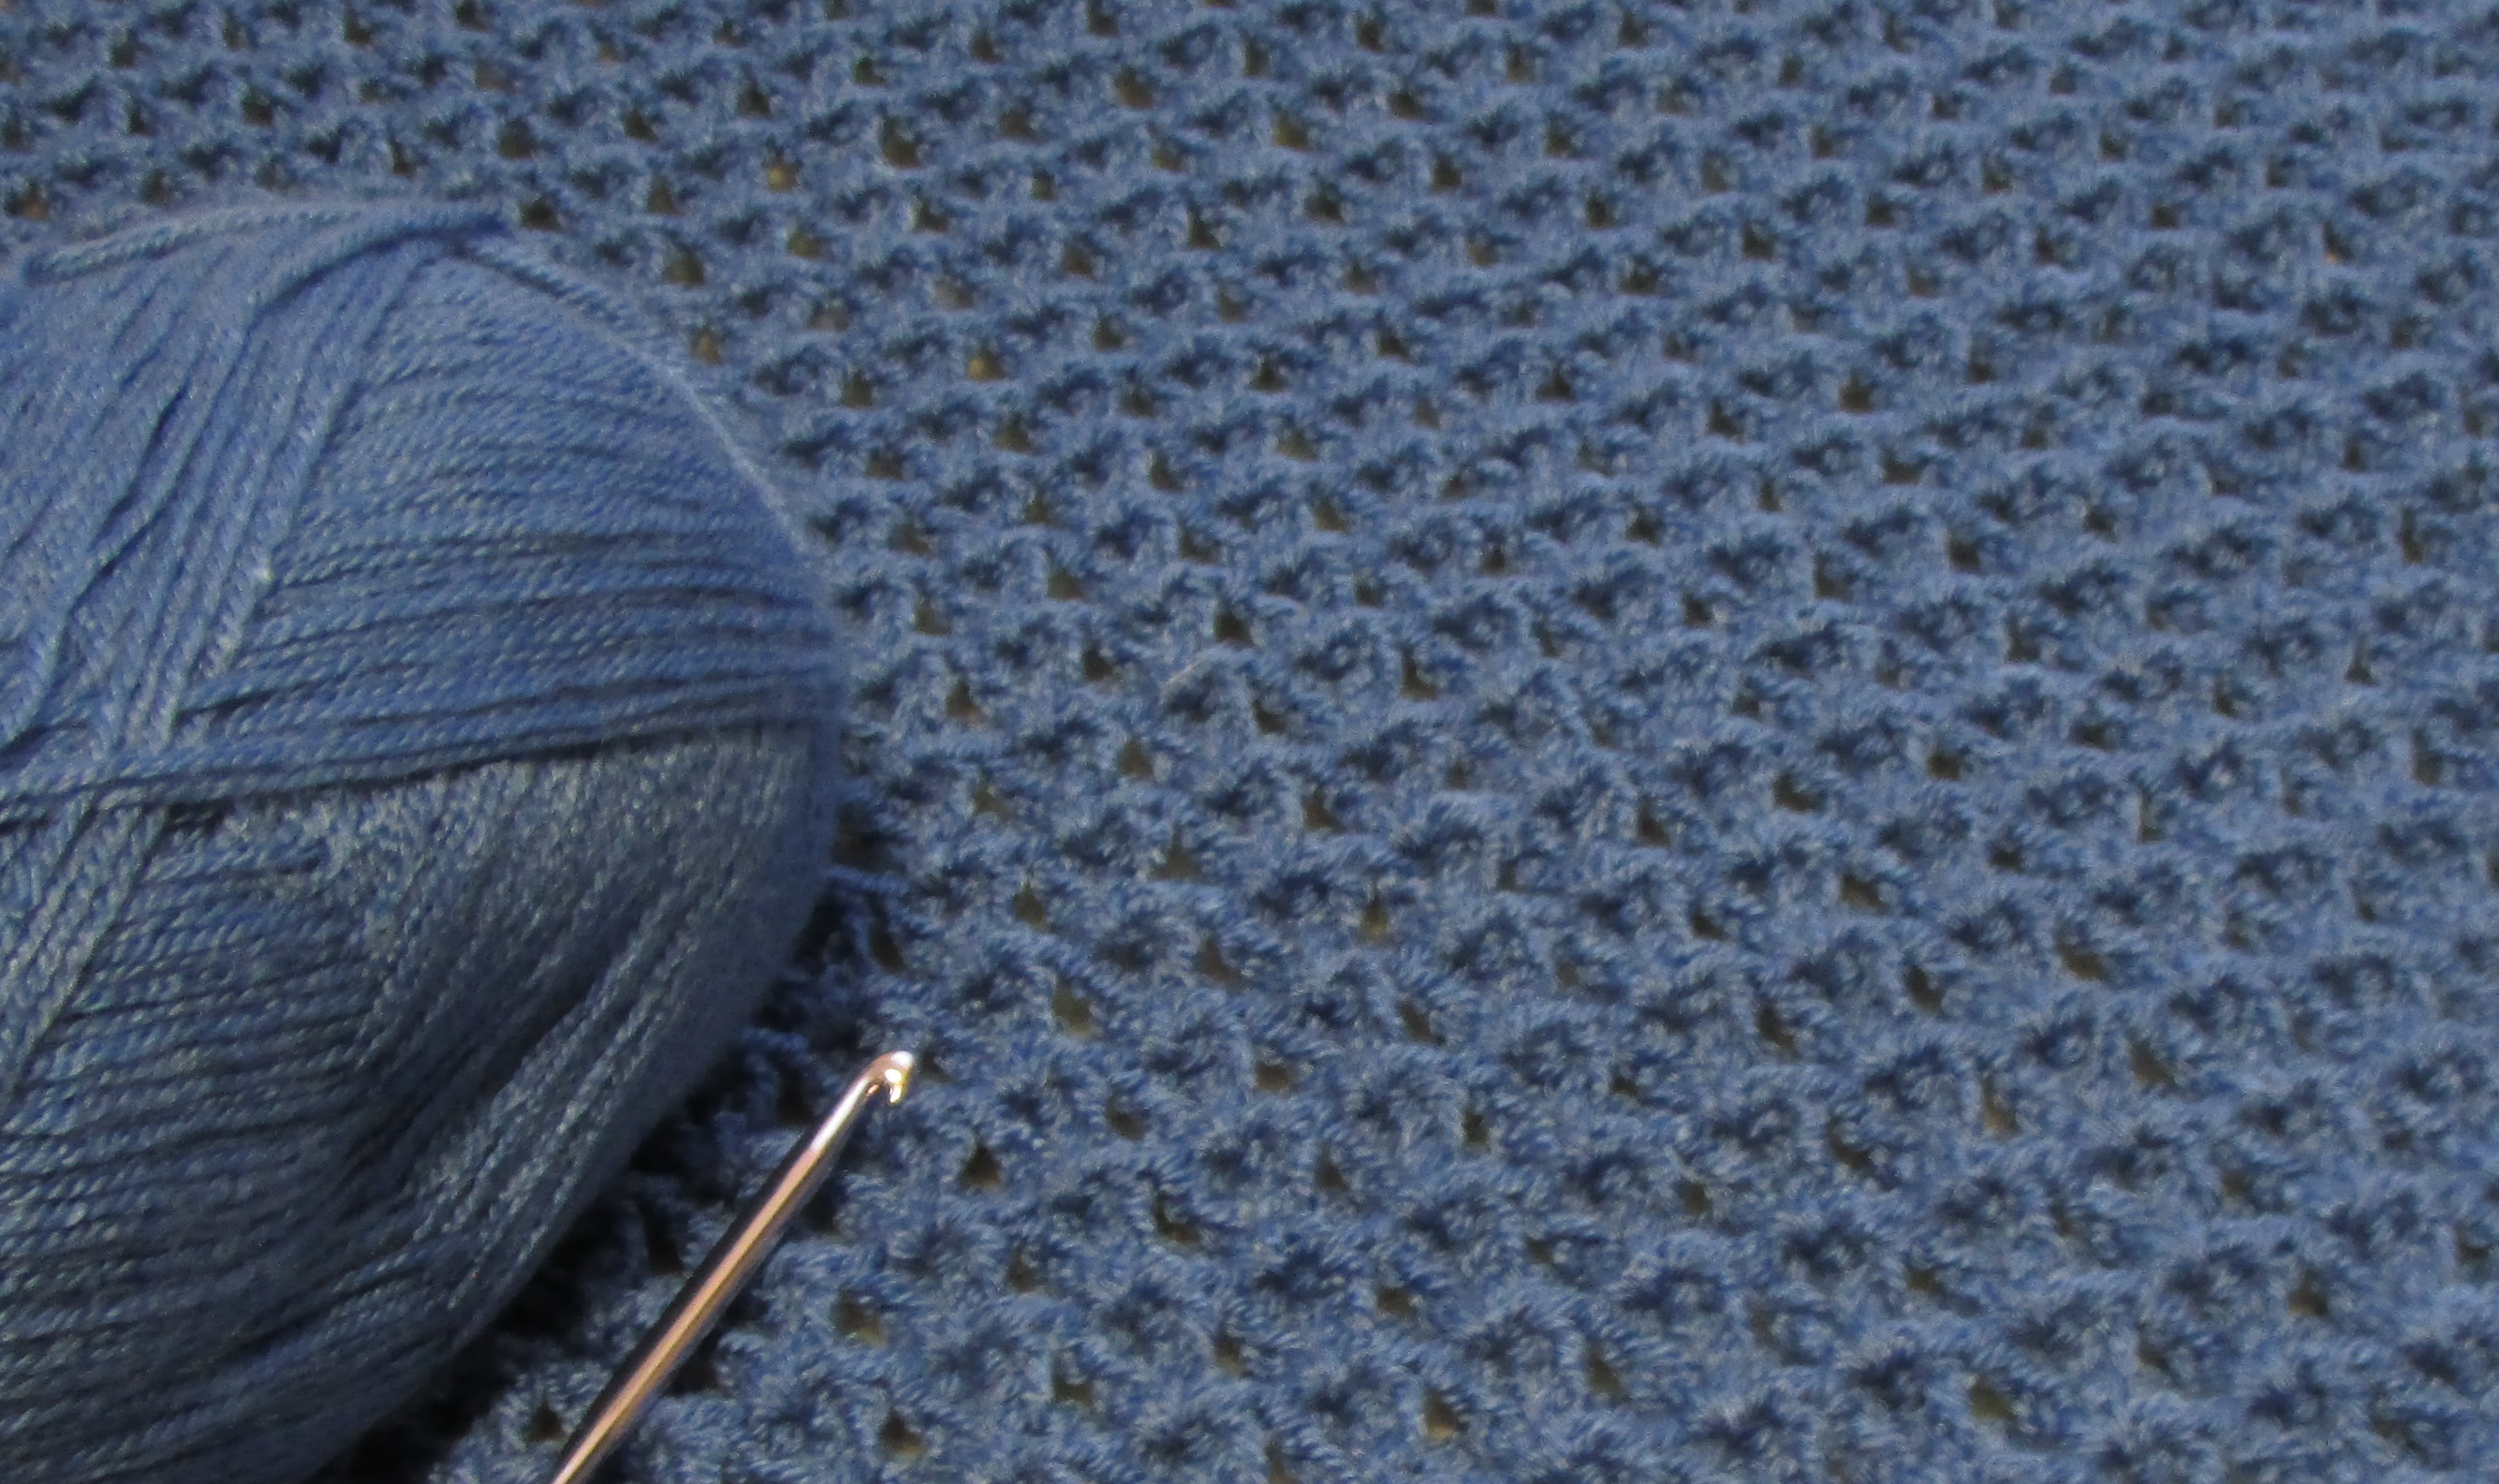
I discovered another really neat textured stitch called the Nest stitch and I worked on a wrap (see below) with that stitch on the plane rides to and from my visit with my mom (had a wonderful time, BTW!). Again, this is a heavily textured, squishy stitch and I can easily see why this would be great for a baby blanket. I'm using the Ls & Ts Woolike for this project too, and it looks like it will turn into a really nice lightweight wrap/scarf.


IMG_1094 - Copy

Alas, I must put this aside to work on the Christmas ornaments that I give to my family. They're not crocheted this year. Actually, I'm using a craft project from Martha Stewart that she showcased on one of her shows many, many years ago. You decorate styrofoam balls with lovely fabric, embellished ribbons, and anything else you think would look good. Of course, hers were gorgeous; I can only hope mine come out half as good!

Friday, May 4, 2018

It's About Time!

I've been a little sluggish with my crocheting lately (and my posts!). I needed to take some pics too, and of course "sunny" California decided to be grey and drizzly for the past few days. However - TA DA - I have a few new things to show you. One item isn't totally new, but I've finally completed it and have the pattern available now in my store, which you can find here. This is the afghan I mentioned in an earlier post, and I've named it Aqua Dreams. The Caron Simply Soft yarn is so pretty and the sheen is really nice. I was very angry at myself for making my traditional mistake of crocheting the beginning rows loose and tightening my tension as I go along - yes, I did it again - but I was able to work it all out with the single crochet/crab stitch border, so everything is fine now. And I am very proud of myself for using up an additional 10+ skeins of my stash!

Aqua Dreams Afghan


 I was so happy with the way the Caron yarn looked that I decided to make another item with it - a long cowl with a lacy edging that you can double loop for added warmth. That's still on the blocking mat, so you'll get to see it in my next post.  I've also finished my version of the Metro Kerchief by Yuliya Tkacheva. I didn't design these two items, so they'll be going in my store as 'products for sale', a new category I'll be adding shortly. I've also designed a scarf/shawlette, I'm working on a summer cowl, and I've finished my mom's Mother's Day present, but I'll have more on those later. By George, i think I'm out of my slump!

My version of the Metro Kerchief
     Till next time, happy crocheting!                                

Wednesday, April 4, 2018

I've Been So Bad...

Well, I certainly hope that all of you had a wonderful Easter and didn't go overboard on the sweets, like I did! I had plans of showing gorgeous carved eggs (that you can see here), or at the very least sharing a cute GIF (which can be seen here). Somehow those never came to fruition. I think I've been stuck in some kind of slow-motion gear that I can't seem to get out of. However, I did get into the Easter spirit and decided to try out a pattern that I fell in love with some time ago. It's the sweet "Little crochet bunny pattern" from Amigurumi Today (available for free here).

Little crochet bunny from Amigurumi Today 


I do have yarn appropriate for making this, but I ran into a problem. The yarn is fuzzy and I was having great difficulty seeing the stitches. So I decided to switch to another yarn I have - sock weight without all the fuzz. Even though my version isn't quite as cute as the original, I still think it turned out ok. Mine just looks a bit sleepy!

 Arthur took pity on my Sleepy Bunny and shared one of his heart pillows with her, originally seen here. I decided that Arthur shouldn't have to sit on a box anymore, so I ordered a comfy retro-modern chair for him. However, I need to find a way to wire him, because Arthur has a terrible problem with falling apart. (The chair, while being very stylish, won't give him a lot of support.) I did find a site that showed how to make an "upholstered" chair and I think Arthur would be ecstatic if I could make one of those for him - but crocheted, of course. Perhaps this will be my next project? But only after I finish the current WIPs.....

Wednesday, January 31, 2018

Whorled Crochet Hook Organizer

While perusing the internet, I saw the concept of using a crochet-covered can for a hook holder/organizer and I thought I'd give it a "whirl" (sorry, I couldn't resist!). Anyway, I decided on a spiral design so that a person could put their smaller hooks near the middle and work outward as the hook sizes increase. For the can I just used a regular vegetable can, about 14.5 - 15.5 ounce size, cleaned with label removed. I used scrap sport weight yarn (although the pink had to be doubled) with an E hook. The nice thing about this design is that you could use a smaller or larger can, just make the initial spiral smaller or larger to fit the opening; the rest of the pattern would stay the same. I've always been in favor of flexible patterns, when possible! So without further ado, here is the pattern -

Whorled Crochet Hook Organizer  -  Skill level: Easy

Materials -
Vegetable can, cleaned and label removed
Scraps of sport-weight yarn (colors called A, B, and C)
Size E (3.5mm) crochet hook

Pattern -  Worked in the round with front side facing you at all times.

1. With A, create a magic circle, ch 1. In the circle work 1 sc, 1 hdc, and 2 dc. Do not finish off.

2. With B, attach yarn to circle and work 1 sc, 1 hdc, and 2 dc. Do not finish off. Repeat with C.

                                   Instructions 1 and 2. Yarns knotted on right side are just the tails.
3. Tighten magic circle. With A, work 2 dc in each stitch of color B. With B, work 2 dc in each stitch of color C. With C, work 2 dc in each stitch of color A (8 dc of each color). You will continue to work the colors over one another till the end of the crochet piece.

                                   Progression of spiral

4. Continue working 2 dc in each stitch until you have a total of 14 dc of each color.

5. Work 1 dc in each of the next 15 stitches with each color.

                                  Spiral after Instruction 5.

6. Now begin working 1 hdc in each stitch around with each color. You won't do any increases from this point on; this is the part of the crochet that will slip over the sides of the can - it will fit snug.

                                   Hdc's fitting over side of can.

                                           Crochet over can.

7. Continue working the hdc spiral until it just comes over the edge of the bottom of the can. Finish off two of the colors. Leaving a long tail with the third color, whip-stitch around each hdc and pull to tighten every few stitches. The piece should fit tautly over the can; finish off.


                                  Instruction 7 completed.


 8. Ta-Da!


                                               Fini!

Just a couple more thoughts. If you want to make sure your hooks stay upright, putting some scrap yarn in the can to act as a cage style of "frog" device could work well.  Also, this pattern won't work with hooks that have comfort grip handles (Clover, etc.) or even smaller thumb-hold type padding because 1) the spaces in the crochet aren't large enough to accommodate the extra bulk, and 2) the hooks don't slide in/out well because the padding hangs up on the yarn. But if you're like me and have a bunch of the good 'ol aluminum hooks, this is the organizer for you!

Thursday, November 30, 2017

Bitten by the Bauble Bug

I've had a cold for the past week, so I've been spending quite a bit of time sailing the internet - and oh! those wonderful holiday patterns. Of all the lovelies that are out there, though, I have become totally enchanted with the Christmas Bauble - and what's not to love? You can get very inexpensive ball ornaments from the dollar store (I bought a package of a dozen for $1) plus you use your yarn scraps to crochet over them, then you have a very pretty ornament when finished. Win-win-win!

I looked up patterns for baubles (hoping to not have to reinvent the wheel), but the majority I found used larger balls and heavier weight yarn. So I had no choice but to create the Corded Bauble - and keeping with the Christmas spirit, I am sharing it with you! I know many of you don't use size 10 or 5 crochet thread, but being a lace-lover I do have quite a bit of these in my stash so that's what I used.
Color variations of the Corded Bauble

Materials - 1 7/8" (48mm) plastic ball ornaments (I had red but gold or silver would fine)
Cotton Crochet Thread size 10 in different colors
Bernat Handicrafter Acrylic Thread size 5 in different colors
Size 1.9mm hook, but you could probably use a 2mm or a 1.8mm
Liquid Stitch or equivalent (white glue would work)
Scissors
Stitches -  sp - Space,  st - Stitch,  sl st - Slip Stitch,  ch - Chain,  dc - Double Crochet,  trc - Triple Crochet,  fptrc - Front Post Triple Crochet,  mc - Magic Circle,  v-st - V-Stitch (dc, ch 1, dc), 2-dc group - 2 dc's worked in same stitch,  FO - finish off.
Special Notes - 1. All rounds are worked from the front (right) side. 2. All rounds are finished off to use a new color for the next round. 3. Instead of trying to weave in ends, I took the beginning and ending tails of each row and weave them so they're next to one another, put Liquid Stitch on the base of each, tied an overhand knot and let them dry.
1. With a mc, ch 3 (1st dc) and work 11 dc's in the circle. Sl St in top of ch 3, tighten circle and FO. (12 dcs).

2. Work 2 dc's in between each dc from round 1. FO. (12 2-dc groups made)

3. Work 1 V-st in the middle of each 2-dc group from round 2. FO. (12 V-sts)

4. *Work 2-dc group in V-st from round 3; trc in front of round 3, in between the 2-dc groups from round 2*. Repeat * to * around. FO.

5. Work V-st between each 2-dc group from round 4. FO.

6. *Work V-st in the ch 1 sp of the V-st from round 5; working in front of round 5, fptrc around the trc from round 4*. Repeat * to * around. FO.

7. Work V-st in the ch 1 sp of V-st from round 6. FO.

8. *Work V-st in the ch 1 sp of the V-st from round 7; working in front of round 7, fptrc around the fptrc from round 6*. Repeat * to * around. FO.

9. Work V-st in the ch 1 sp of V-st from round 8. Slip ball into crochet and finish round with ball inside. You'll work crochet rounds over ball from this point on.

10. *Work V-st in the ch 1 sp of the V-st from round 9; working in front of round 9, fptrc around the fptrc from round 8*. Repeat * to * around. FO.

11. Work 2-dc group in ch 1 sp from round 10 around. FO.

12. *Work 1 dc between the 2-dc group from round 11; working in front of round 11, fptrc around the fptrc from round 10*. Repeat * to * around. FO.

13. Work sc in every other st around, FO.


Note - If you use all size 10 crochet thread, you may need to add another round before you complete the bauble with round 13. If so, work 1 front post double crochet in every fptrc from round 12.

A couple other baubles I made. Loved the look of the Fptrc stitch, so I went crazy with it!
The entire dozen baubles completed!

I hope you enjoyed this little tutorial and it has encouraged you to create a few baubles of your own this season!